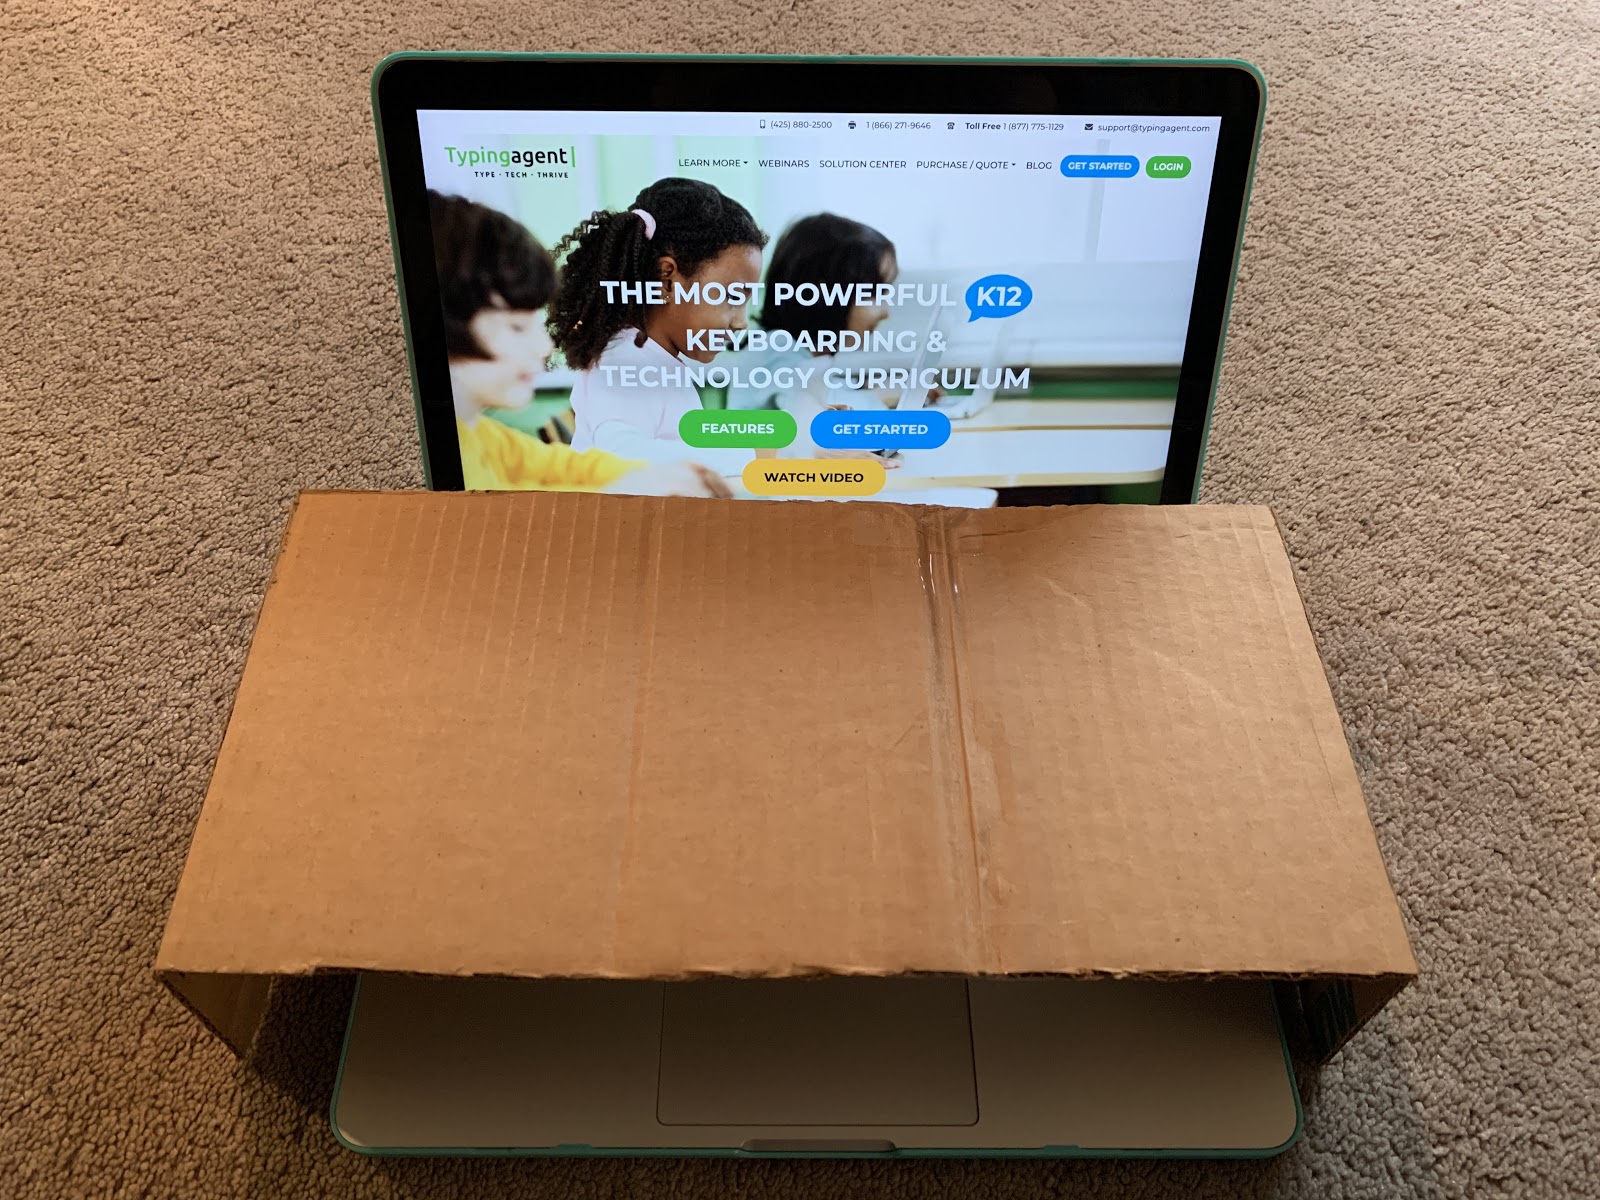
Many parents and teachers have asked whether we can recommend a keyboard cover. While we do not offer a custom keyboard cover at this time, we can show you a DIY option that teachers or students with adult assistance can make.
How Covering the Keys Helps Students Learn Touch Typing
Covering the keyboard is one of the best things you can do to help your students learn to type (aside from signing up for Typing Agent, of course!). If the keyboard isn’t covered, students will be tempted to look at the keys, which will keep them from effectively developing muscle memory.
There are several ways you can cover the keyboard while students are learning to type. Some teachers and parents use keyboard skins or key stickers, which you can find in many places online. If you are willing to get crafty, you can also make your own keyboard cover and save yourself some money.
How to Make a DIY Keyboard Cover
Tools and Materials:
- A piece of corrugated cardboard that is at least 7” X 21” (for a keyboard or laptop under 13.5” long — for every additional inch of keyboard past 13.5”, add another inch to the length of the cardboard piece)
- A second piece of corrugated cardboard that is 2” by 2”
- Cardboard cutting knife or similar tool(s) for scoring and cutting the cardboard
- Ruler or yardstick
- Pencil or pen
- Hot glue gun
- Duct tape or gaffer tape (optional)
Instructions:
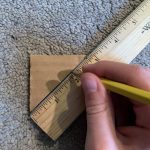
1. Draw a straight line down the large piece of cardboard 3.5” from each short end.
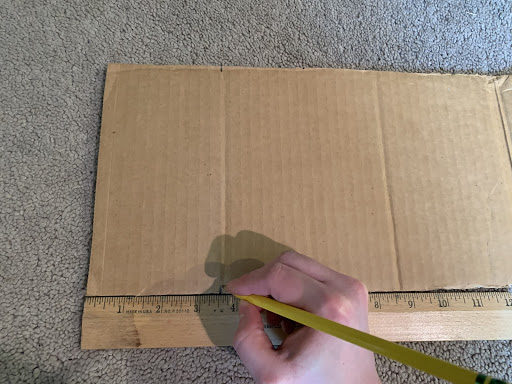
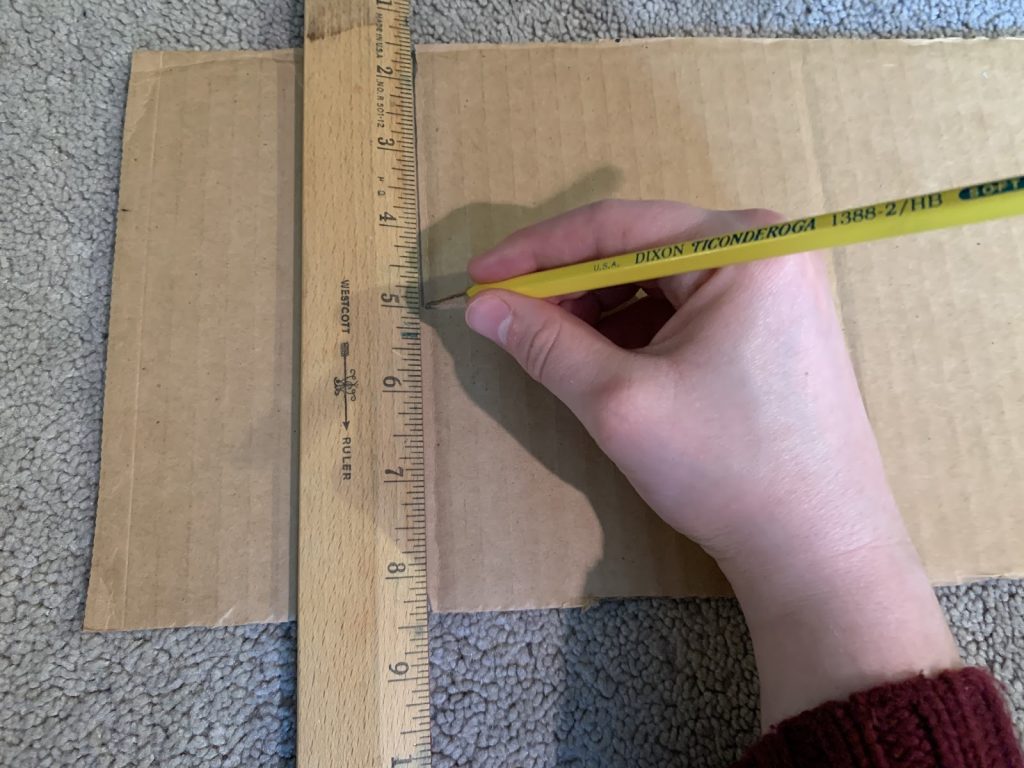
First, use the ruler to measure and mark a point 3.5” from one of the cardboard’s short edges on each side. Then, use the ruler as a straightedge to draw a line between the two points you marked. Repeat near the other short end.
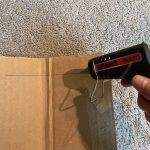
2. Score and bend the lines you drew.
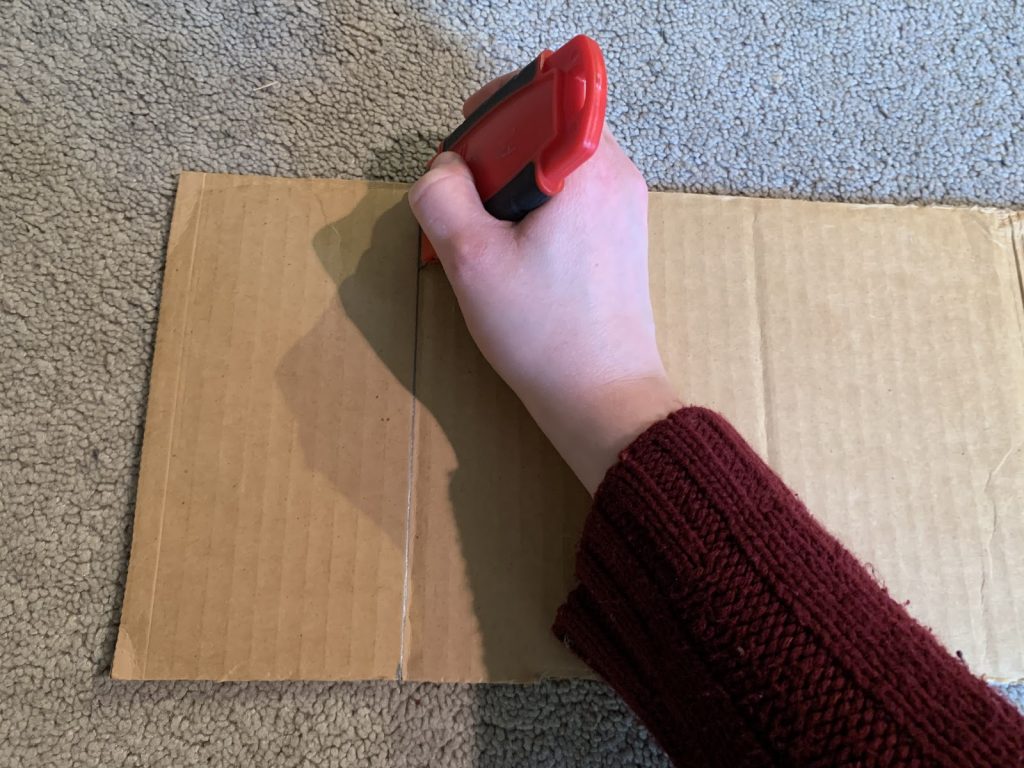
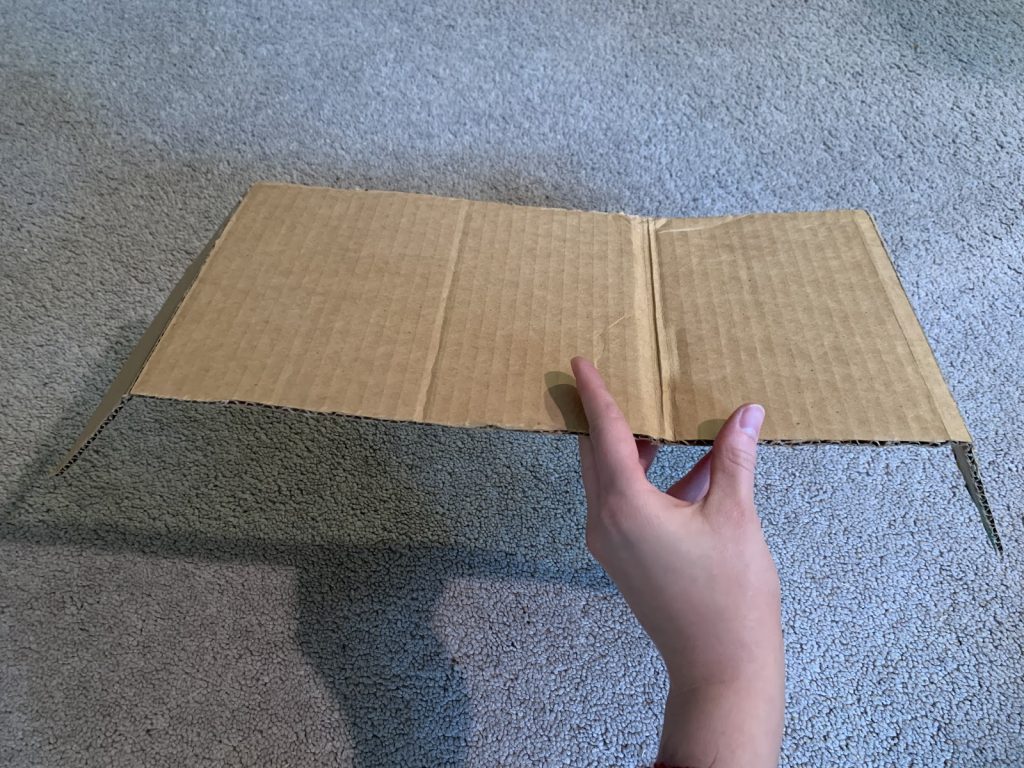
To score the cardboard, cut through only the top half of the corrugated cardboard. This video shows how the process works. You can use a cardboard cutting knife or any similar tool that is sharp enough to cut part of the way through the cardboard. Scoring will make it easier to bend the cardboard neatly. After you have scored the lines, bend the cardboard there.
3. Cut two right-angle triangles from the small piece of cardboard.
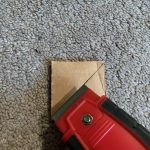

Use the ruler as a straight edge to draw a diagonal line down the small piece of cardboard from one corner to the opposite corner. Then cut the cardboard down the line to make two triangles.
4. Glue the triangles to the inside corners of the large piece of cardboard.
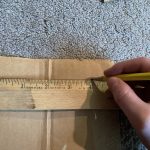
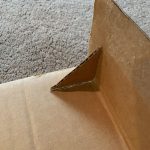
On the inside of the large cardboard piece (the side you did not cut through when you scored the cardboard), use the ruler to mark a roughly 4” line about an inch away from and parallel to one of the long ends, going across the fold line, on each fold. Use the hot glue gun to draw a line of glue across that line. Fold the cardboard again at a right angle, then stick the shorter sides of the cardboard triangles along the glue lines.
5. Wait for the hot glue to dry.
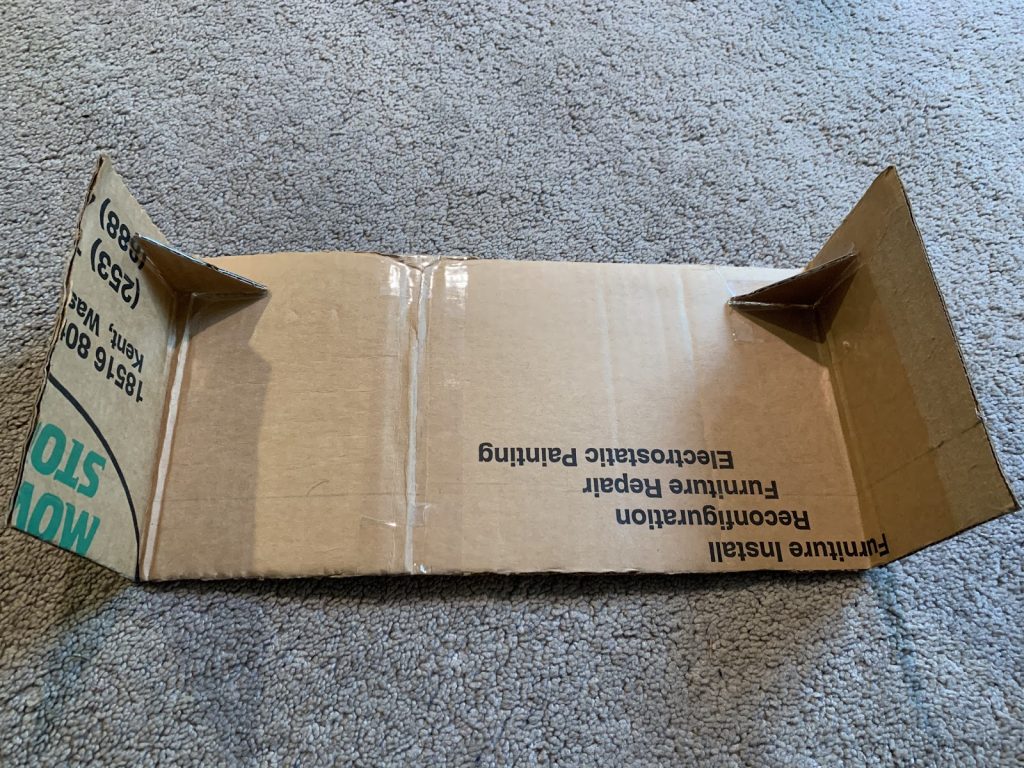
Make sure the glue is dry before you use your keyboard cover. If the keyboard cover holds together well, you can stop at this step.
6. (Optional) Reinforce the keyboard cover with tape.
If you want to protect your keyboard cover or help it stay together better, you can stick duct tape, gaffer tape, or a similar thick tape around the triangles and anywhere else the cardboard needs reinforcement.
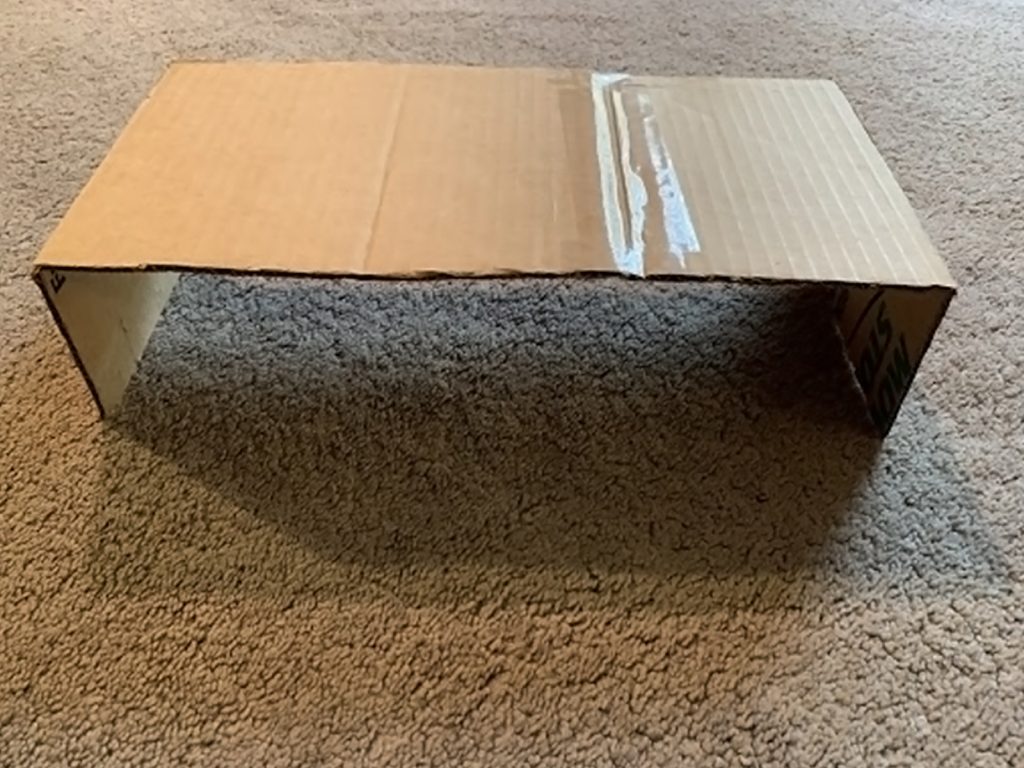
Congratulations! You now have a complete, handmade keyboard cover. If you like, feel free to decorate it with colored tape, paint, colorful pieces of paper or fabric, glitter, or other materials. In the meantime, be sure to check out our other muscle memory tricks for learning to type faster.

